
How to Illustrate a Children’s Book: A Step-by-Step Guide
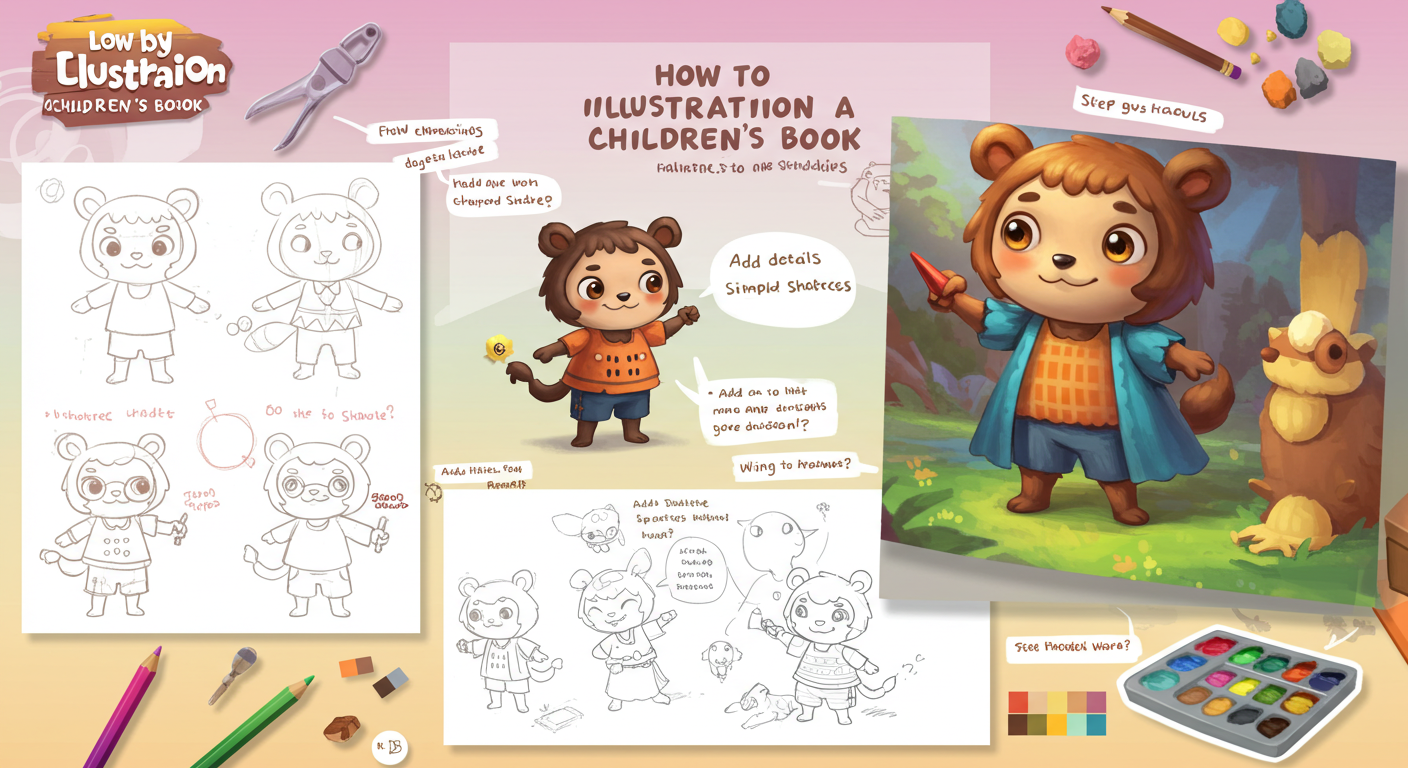
Illustrations bring children’s books to life, making them engaging and visually appealing. Whether you’re an aspiring illustrator or an author looking to collaborate with one, this guide will walk you through how to illustrate a children’s book from start to finish.
1. Understand the Story and Audience
Before starting, it’s crucial to understand the book’s theme and target age group:
- Board books (Ages 0-3): Simple, colorful images with minimal details.
- Picture books (Ages 3-7): Detailed illustrations that enhance storytelling.
- Early readers (Ages 5-9): More complex images but still engaging.
📌 Tip: Read the manuscript multiple times to grasp the story’s mood, setting, and characters.
2. Create Character Designs
Strong characters make a book memorable. To design appealing characters:
- Sketch multiple variations of your main characters.
- Use expressive facial features and body language.
- Maintain consistency in character design throughout the book.
📌 Tip: Give each character unique traits that make them recognizable.
3. Develop a Storyboard
A storyboard is a rough sketch of each page, helping to plan:
- Composition: How elements are arranged.
- Flow: How images lead the reader’s eye.
- Balance: Text-to-image ratio for readability.
📌 Tip: Use thumbnails to sketch small versions of each page before creating full illustrations.
4. Choose an Illustration Style
Selecting the right style sets the book’s tone. Popular styles include:
- Hand-drawn sketches: Classic and organic.
- Watercolor paintings: Soft and dreamy.
- Digital art: Vibrant and modern.
- Collage art: Textured and unique.
📌 Tip: Consider the book’s mood—whimsical, adventurous, or educational—when picking a style.
5. Decide on Colors and Composition
Children’s books use colors to evoke emotions:
- Bright colors: Energy and excitement.
- Soft pastels: Warmth and comfort.
- Dark shades: Mystery or nighttime settings.
📌 Tip: Keep color palettes consistent to maintain visual harmony.
6. Illustrate Each Page
Once the storyboard and style are set, start final illustrations:
- Work in layers (if digital) to adjust elements easily.
- Add depth using shading and highlights.
- Keep backgrounds simple to avoid distracting from characters.
📌 Tip: Leave space for text, ensuring it remains readable.
7. Refine and Finalize the Artwork
- Get feedback from authors, editors, or beta readers.
- Adjust colors, line work, and composition for consistency.
- Format illustrations based on publisher or printing requirements.
📌 Tip: Convert files to high-resolution formats (300 DPI) for professional printing.
8. Collaborate with an Author or Publisher
If you’re illustrating for an author, discuss:
- Deadlines & revisions to stay on schedule.
- Rights & contracts to clarify ownership.
- Royalties or flat fees based on agreement.
📌 Tip: Use platforms like Fiverr, Upwork, or Behance to find illustration opportunities.
9. Self-Publishing Your Illustrated Book
If you’re both the author and illustrator, self-publishing is an option:
- Amazon KDP: Print and sell digitally.
- Harmony Publishing: Book Publishing Company
- IngramSpark: Wide bookstore distribution.
- Lulu & BookBaby: High-quality printing options.
📌 Tip: Ensure your final book layout meets self-publishing guidelines.
Conclusion
Illustrating a children’s book requires creativity, patience, and planning. Whether you’re an illustrator working for an author or creating your own book, following these steps will help you produce visually stunning and engaging artwork.